How to install the Ion Drops shower head
Installing IonDrops takes about a minute, needs no tools, no plumber and no change to your plumbing. Here is the exact sequence, what to check before you start, and what to do if the joint drips.
Last updated September 2026Written by the IonDrops product team 4.8/5 rated
Before you start
There is nothing technical about this job, but two minutes of checking saves you the annoyance of standing in a shower cubicle with a wet sleeve. Run through this list first:
- Check the thread size. IonDrops fits a standard 1/2-inch (G1/2) shower arm — the fitting used on the large majority of fixed showers. If your current head unscrews from a short pipe coming out of the wall, you almost certainly have it.
- Find the washer and tape. Both are in the box. The washer does the sealing; the tape is insurance on an older thread.
- Grab a dry cloth. Grip, not force, is what gets a scaled-on old head moving.
- Turn the shower off at the mixer. You do not need to shut off the mains — just make sure the valve is closed.
That is the whole preparation. You will not need plumber's putty, a new arm, a drill or any fittings beyond what ships in the box.
Will it fit your shower?
This is the only question worth answering carefully, because it is the difference between a one-minute job and a return. Find your setup below.
| Your shower | Fits? | What to check |
|---|---|---|
| Fixed head on a wall-mounted arm | Yes | Standard 1/2-inch thread. This is the setup IonDrops is designed for. |
| Handheld head on a flexible hose | Usually | Screws onto the hose end if the handset detaches. IonDrops is a fixed head shape, so it will hang from the hose rather than clip into a rail cradle. |
| Wall-mounted mixer bar with a rail | Usually | Fit it to the hose end. Check there is clearance for a wider head next to the rail. |
| Ceiling or wall rain head plumbed in | No | There is no accessible thread to unscrew. IonDrops cannot replace a built-in rain head. |
| Handset permanently sealed to its hose | No | Nothing detaches, so there is nowhere to fit the head. |
| Electric shower unit with sealed outlet | Check first | If the hose unscrews at the handset it usually works. Send us a photo before ordering if you are unsure. |
Not sure which one you have? Send our team a photo of your shower arm and we will tell you straight. If it turns out IonDrops cannot fit your bathroom, the 90-day money-back guarantee and our returns process cover you.
What is in the box
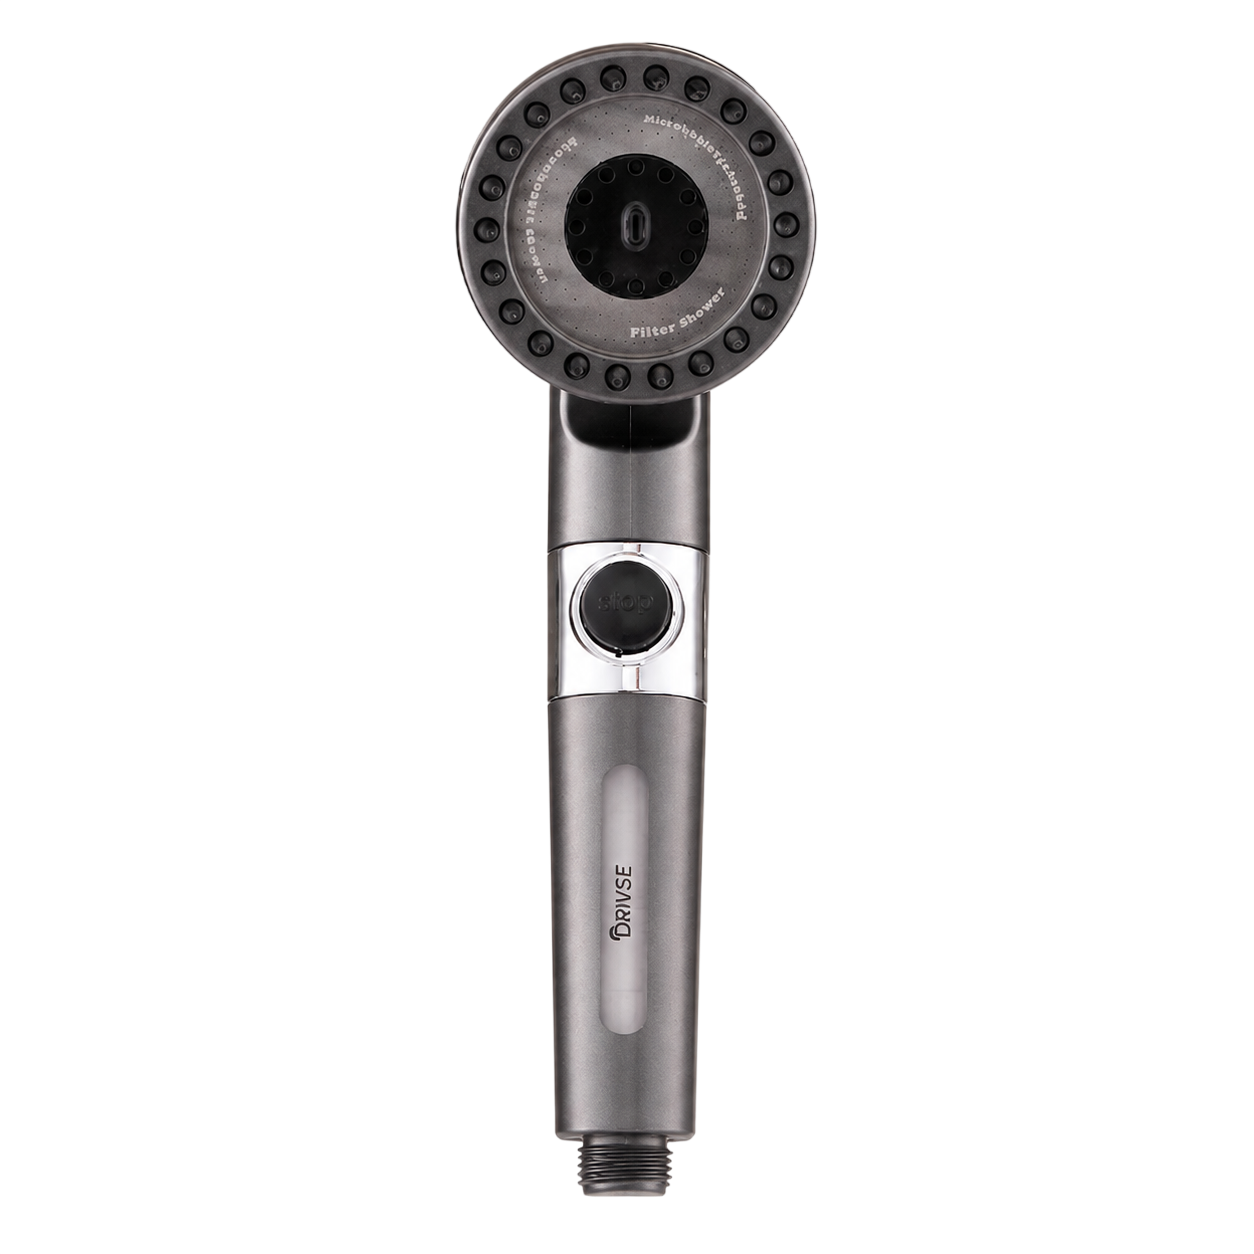
- The IonDrops filtered high-pressure shower head
- One mineral filter cartridge, pre-installed
- One rubber sealing washer
- One roll of Teflon (PTFE) thread tape
- A printed quick-start card
Nothing else is required. You do not need a new shower arm, an adapter, sealant or a separate filter housing.
The five steps, in detail
Total time is about a minute. The per-step timings below are what it actually takes when nothing is seized on.
- Remove the old head (about 15 seconds). Hold the shower arm steady with one hand and turn the head anti-clockwise with the other. Why it matters: holding the arm stops you twisting the pipe inside the wall. Common mistake: turning the wrong way. Anti-clockwise loosens.
- Clean and tape the thread (about 20 seconds). Wipe off old tape, grit and limescale with your cloth, then wrap two clockwise turns of Teflon tape around the thread, pulling it snug into the grooves. Why it matters: tape fills the tiny gaps that a worn thread leaves behind. Common mistake: wrapping five or six turns — that makes the head sit crooked.
- Seat the rubber washer (about 5 seconds). Drop the washer into the IonDrops connector and press it flat with a fingertip. Why it matters: the washer, not the tightness, is what seals the joint. Common mistake: leaving it tilted on one edge — the single most frequent cause of a drip.
- Screw on IonDrops (about 15 seconds). Line the head up square to the arm and turn clockwise until it is hand-tight. Why it matters: starting square avoids cross-threading. Common mistake: reaching for a wrench. Over-tightening can crack the connector and voids nothing faster.
- Test (about 10 seconds). Open the mixer, run it for ten seconds, and look at the joint while the water is on. Cycle through the spray modes to confirm they switch cleanly. Why it matters: a drip is far easier to fix now than after your first shower.
If the old head is stuck
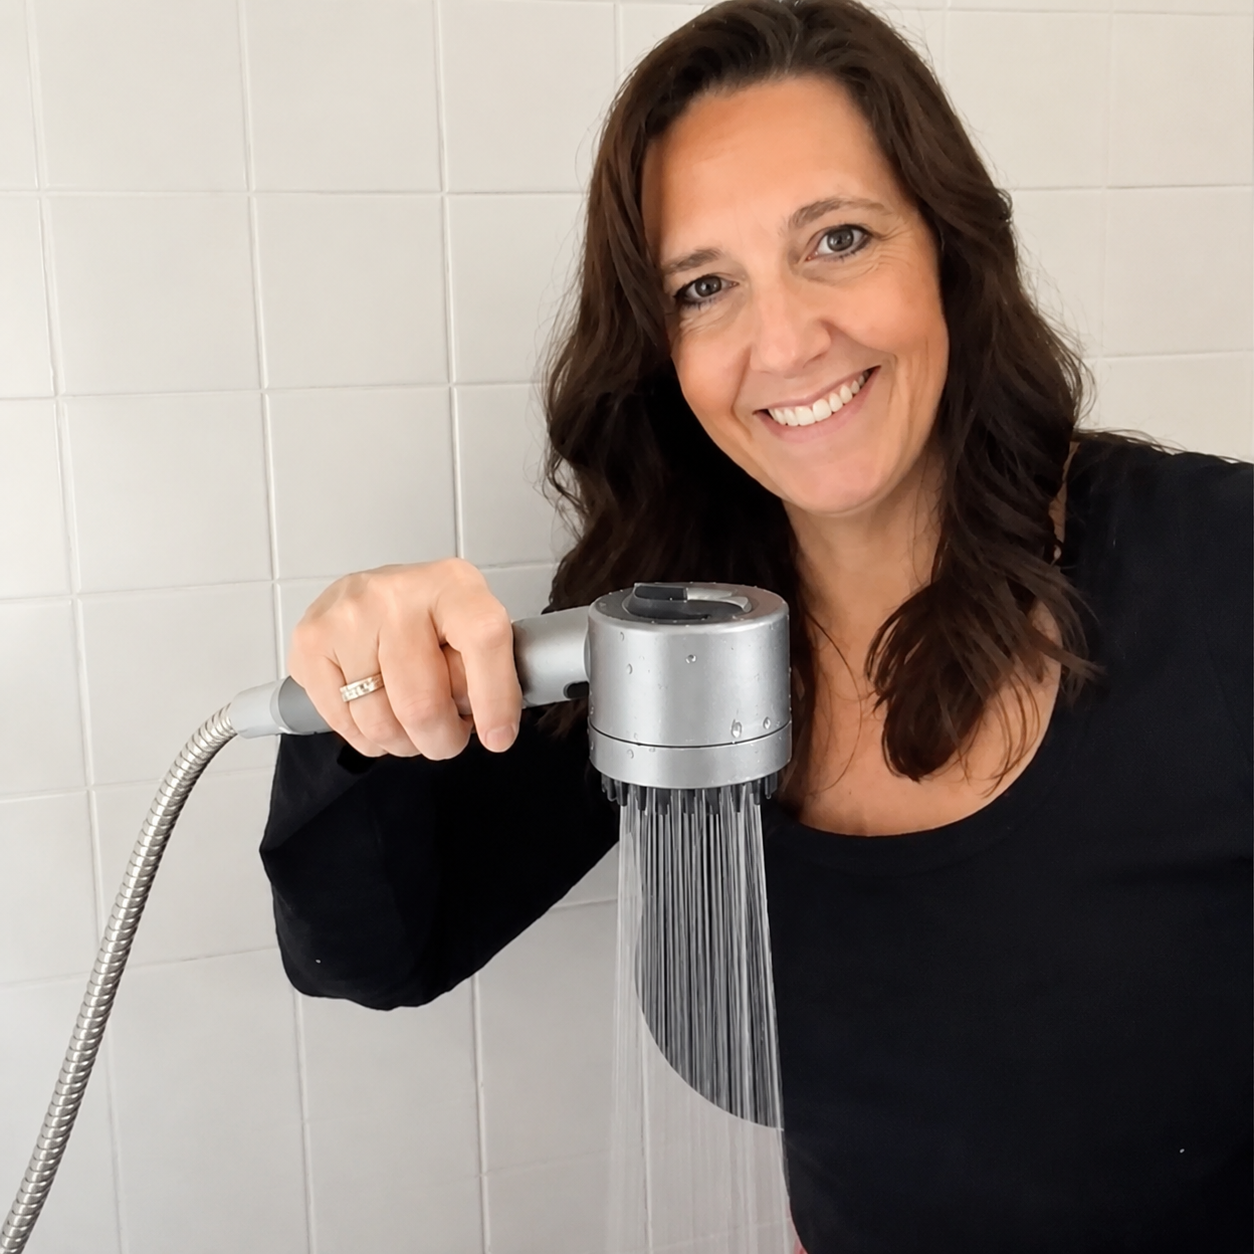
On a shower that has not been touched in years, mineral deposits can effectively glue the old head to the arm. Work through these in order and stop as soon as it moves:
- Add grip. Wrap a dry cloth or a rubber glove around the head and try again. Dry grip beats wet strength.
- Soften the scale. Soak a cloth in white vinegar, wrap it around the joint and leave it 20–30 minutes, then retry.
- Use a padded wrench. Wrap the head in a cloth, then use an adjustable wrench on the cloth so the jaws never touch the finish. Support the arm with your other hand.
- Stop if the arm turns. If the pipe in the wall starts rotating with the head, stop and get a plumber to look at it. That is a plumbing issue, not an IonDrops one.
Troubleshooting a leak or weak spray
| Symptom | Most likely cause | Fix |
|---|---|---|
| Dripping where the head meets the arm | Washer tilted, or thread needs tape | Unscrew, press the washer flat, add one more clockwise turn of Teflon tape, hand- tighten again. |
| Water seeping around the connector nut | Cross-threaded start | Remove fully, re-start the head square to the arm and turn slowly by hand. |
| Weak spray straight out of the box | Cartridge not seated, or blocked arm screen | Open the head, press the cartridge in flat, and check the small filter screen inside the shower arm is clear of grit. |
| Head will not thread on at all | Non-standard thread | Stop — do not force it. Contact support with a photo of the arm. |
| Uneven or squirting spray pattern | Scale on the silicone nozzles | Run the water and rub the nozzles with your thumb to pop the deposits out. |
| Whistling or rattling noise | Air in the line or a part-open valve | Open the mixer fully for 30 seconds to purge, then set your normal flow. |
| Spray modes will not switch | New selector stiffness | Turn the selector firmly through a full rotation two or three times with water on. |
| Head loosens over the following weeks | Tape bedded in | Nip it up by hand once. If it keeps loosening, re-tape the thread. |
If none of these solve it, message us with your order number and a short video of the leak — it is normally diagnosed in a single reply.
Cleaning and maintenance
The head itself needs almost nothing. The silicone nozzles are designed to flex, so scale does not get a grip the way it does on chrome faceplates.
- Weekly, if you like: run the water and rub a thumb across the nozzles. That is genuinely enough in most homes.
- Hard water areas: once a month, wipe the faceplate with a cloth dampened in a 50/50 white vinegar and water mix, then rinse.
- Do not use bleach, abrasive pads, or descaler soaks with the cartridge still inside — remove the cartridge first if you are soaking anything.
- Do not put the head or cartridge in a dishwasher.
Changing the filter cartridge
Fitting a replacement cartridge is the same skill as installing the head, and it takes about the same time:
- Unscrew the head from the shower arm by hand.
- Open the cartridge chamber and lift the spent cartridge out.
- Drop the new cartridge in flat, so it sits level with no gap.
- Close the chamber, screw the head back on hand-tight and run the water briefly.
Cartridge life depends on your water and how much you shower, so judge it by feel: a noticeable drop in flow or a return of chlorine smell means it is time. See cartridge pricing and replacement details.
Renting? How to undo it
Nothing about this install is permanent, which is why it is popular with renters and people in shared housing:
- Keep your original shower head and its washer in the IonDrops box.
- To reverse it, unscrew IonDrops anti-clockwise by hand.
- Peel the old Teflon tape off the arm thread and wipe it clean.
- Screw the original head back on hand-tight and test for drips.
No holes, no cut pipes, no landlord conversation — and IonDrops travels with you to the next place.
Key takeaways
Read next
Frequently asked questions
How do you install an Ion Drops shower head?
Unscrew your old shower head anti-clockwise by hand, wipe the shower arm thread clean, wrap it with two clockwise turns of the supplied Teflon tape, seat the rubber washer flat inside the IonDrops connector and screw the head on hand-tight. Run the shower for ten seconds and check the joint for drips. Start to finish it takes about 60 seconds.
Do I need tools or a plumber?
No. IonDrops is designed to be hand-tightened onto the existing shower arm, so nothing is cut, drilled or plumbed. The only tool ever needed is a dry cloth for grip — or, if your old head is welded on with limescale, an adjustable wrench with padded jaws to break it loose.
Will Ion Drops fit my shower?
It fits standard 1/2-inch (G1/2) shower arms, the thread used on the large majority of fixed showers worldwide, and it also screws onto the end of most flexible shower hoses. It cannot replace a ceiling rain head that is plumbed into the wall or ceiling, and it cannot be fitted to a handset that is permanently sealed to its hose.
What if the joint leaks after installing?
A drip at the shower arm almost always means the rubber washer is not sitting flat or the thread needs more tape. Unscrew the head, check the washer is flat inside the connector, add one more turn of Teflon tape and re-tighten by hand. Do not reach for a wrench — over-tightening is more likely to cause a leak than fix one.
Can I install it in a rental?
Yes, and it is one of the most common reasons people buy it. Nothing is drilled, cut or permanently altered. Keep your original shower head in the box, and when you move out, unscrew IonDrops and screw the original back on in under a minute.
Does it work on a handheld shower with a hose?
In most cases yes. Detach the handset from the hose and screw IonDrops onto the hose end, as long as the hose uses the standard 1/2-inch fitting and the handset is not fused to the hose. IonDrops is a fixed head shape, so on a hose it hangs from the hose rather than sitting in a rail cradle.
Do I have to use the Teflon tape?
The washer alone seals most shower arms, but we include tape because it costs nothing and removes the most common cause of a drip — a slightly worn or scratched thread. Two clockwise turns is enough; more tape makes the head harder to seat squarely.
How tight is hand-tight?
Turn clockwise until it stops turning easily with normal hand pressure, then stop. You should not need to strain. Plastic connectors seal against the washer, not against force, so extra torque only risks cracking the connector or crushing the washer out of shape.
How do I remove Ion Drops again?
Turn the head anti-clockwise by hand while holding the shower arm steady. If mineral deposits have made it stiff, wrap a cloth around the connector for grip. Peel off the old Teflon tape from the arm before fitting anything else.
What if it genuinely does not fit my shower?
Do not force it — contact our support team with a photo of your shower arm and we will tell you whether an adapter solves it. If it cannot fit your setup, the 90-day money-back guarantee covers the return.
Questions before you order? Read our shipping times, returns process and 90-day guarantee, or contact our team.